Applies to versions: 3.0, 3.1, 3.2
Terminating/Rehiring Employees
TimeIPS stores employee's time and payroll information historically. To terminate or furlough employees, their current Employment/Pay History entry is simply ended, rather than deleting their information completely from TimeIPS. This makes rehiring and reactivating employees from furlough easy.
Terminating an Employee
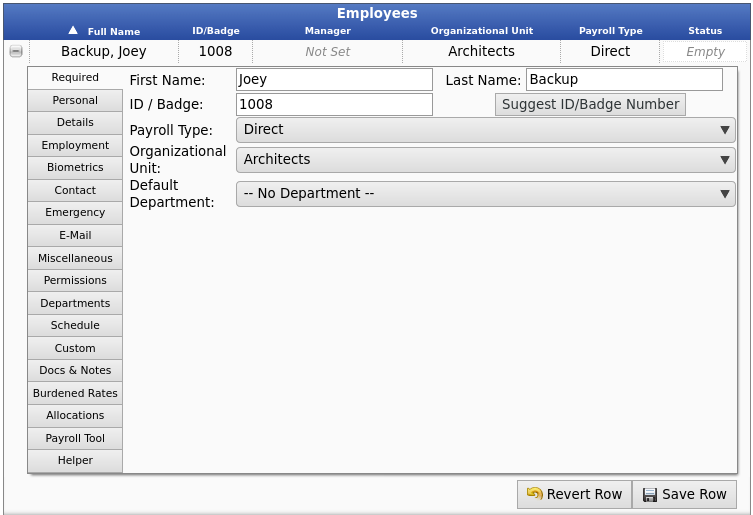
Using the left pane Main Menu » Administration, click on: Employees » Employee Administration
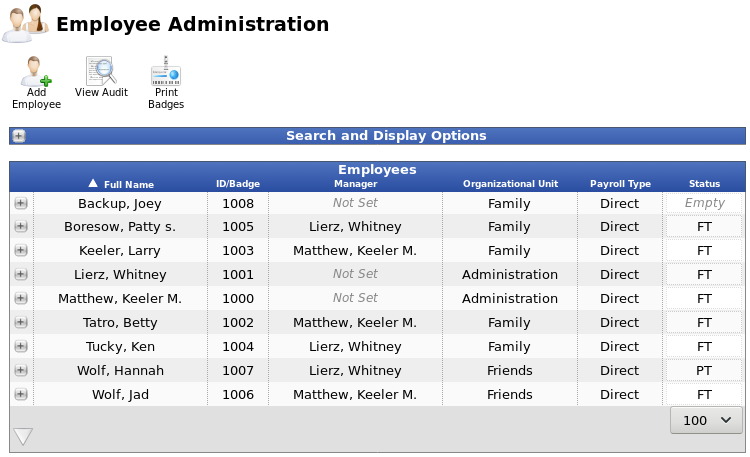
- Click on the + sign next to the name of the terminated employee to expand the record.
- Click on the Employment tab.
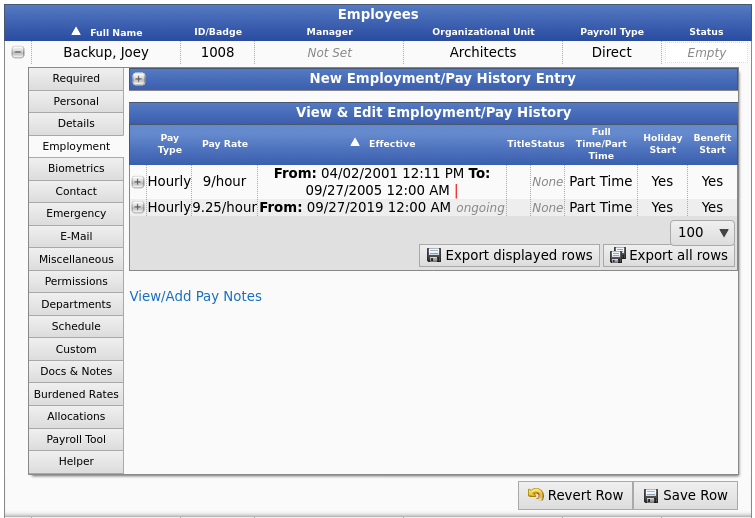
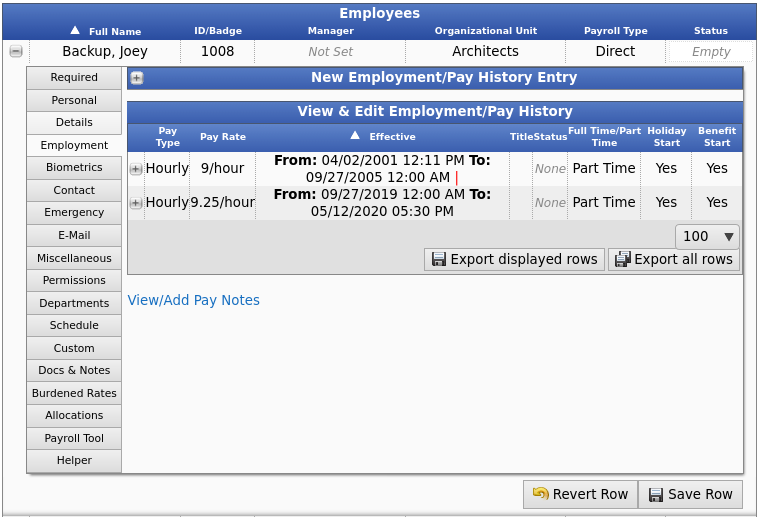
- On the Employment tab, click the + sign to the right of the most current Employment/Pay History entry.
TIP: If there are multiple employment/pay histories, look for the word "ongoing" in the "Effective" date column. Ongoing means it is still open and therefore current.
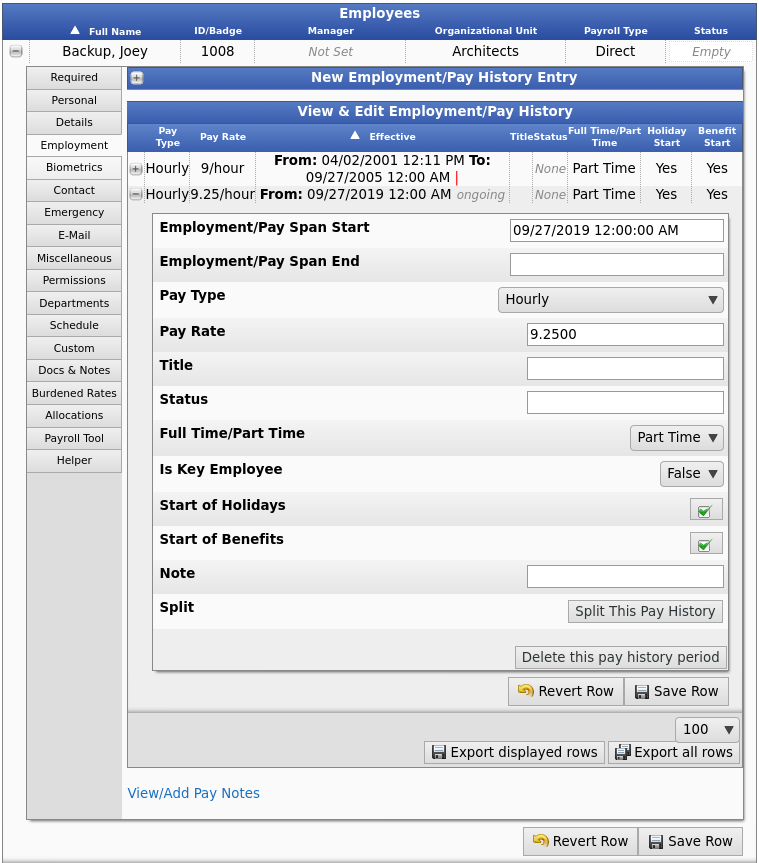
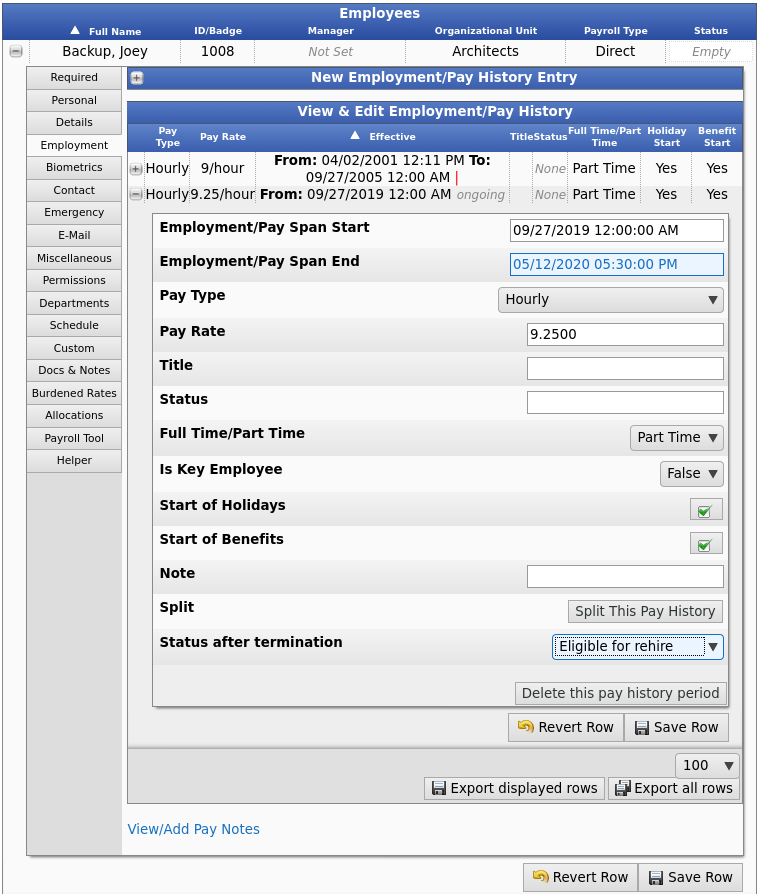
- Once the entry is expanded, enter the termination date and time in the Employment/Pay Span End field.
NOTE: The termination date is the last day the employee worked. If this is being future dated, set the time to allow the employee to clock out. For example, if the employee's last day is today and they will be clocking out at 5pm, set the date to today and the time to 5:30pm.
- Click the Save Row button to complete the termination.
NOTE: A Full Access Employee must be assigned at all times. If the only Full Access Employee is being terminated, first assign a new Full Access Employee. To assign a Full Access Employeer, add an Employee to the "Full Access" Permission group on the
Permissions page.
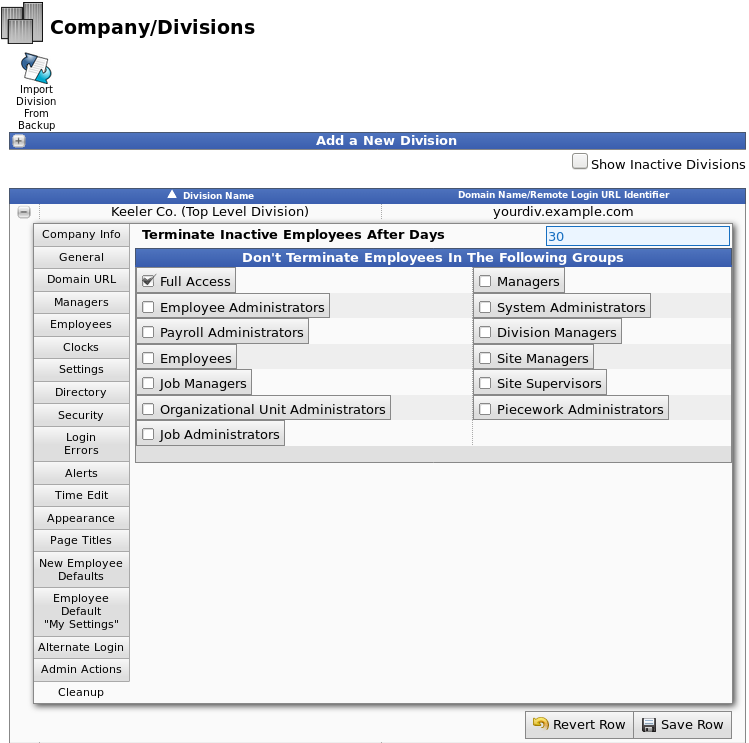
Set Automatic Termination
Using the left pane Main Menu » Administration, click on: System » Company/Divisions
- Click on the + (plus) sign to the left of your Company's Division.
- From the Cleanup tab, enter the number of days an employee should be automatically terminated after inactivity. Inactivity refers to no worked time, benefits, holidays, or piecework.
- If there are certain groups of employees that this does not apply to, check the box next to that group.
- Click Save Row to implement the changes.
Rehiring an Employee
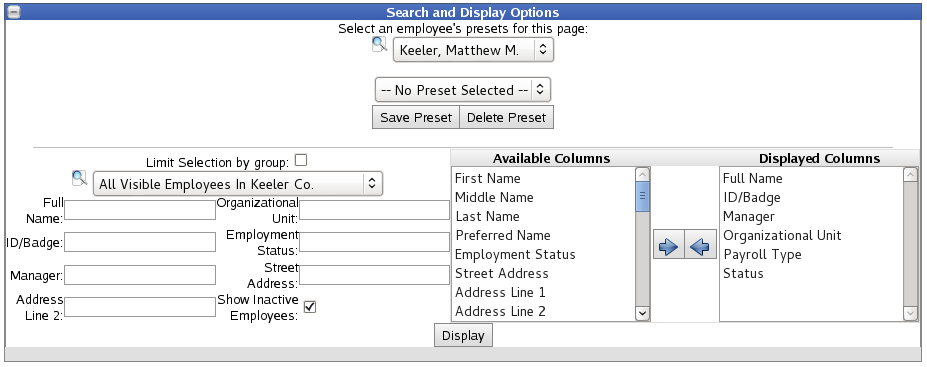
When an employee does not have an open pay range, the system considers them "inactive". To view this and other inactive employees throughout the system, you can choose to "Show" Inactive Employees on the List Options tab under My Settings or on individual pages under Display Options.
Back under the Main Menu » Administration, click on: Employees » Employee Administration
- Click on the + sign on the Search and Display Options bar to expand the window.
- Check the box next to Show Inactive Employees, then click on the Display button. Both active and inactive employees will display.
- Click on the + sign next to the inactive employee's name to expand their record.
- Click on the Employment tab.
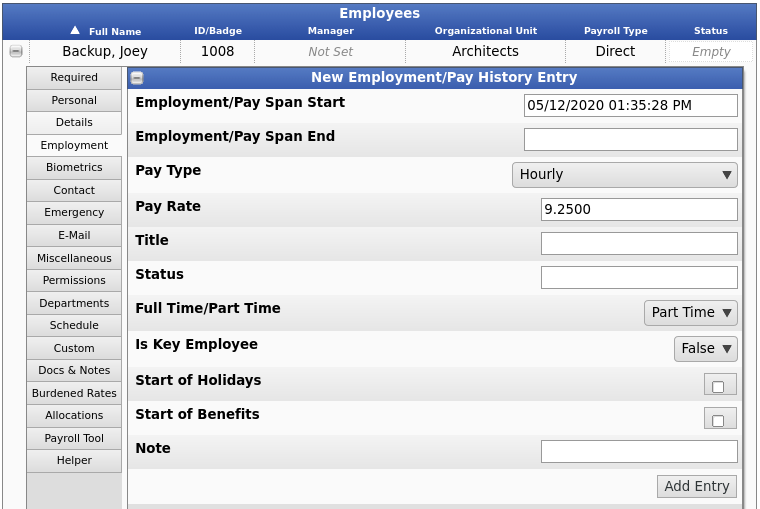
- On the Employment tab, click the + sign on the New Employment/Pay History Entry bar.
- Enter the Employment/Pay Span Start date and time in the employee's timezone. This time range should include all of the employee's worked time. Holidays, Benefits, Piecework, and other areas throughout the system will display a warning message if time outside of the employees pay range are attempted to be entered.
- Optionally, enter the Employment/Pay Span End date and time in the employee's timezone. This may be the end of a pay rate as well as the end of employment in general. If blank, it is ongoing and does not end.
- The following fields/options are auto-filled with (defaulted to) the most recent employment/pay history’s information/data/choices. This should be helpful and you may not need to make any changes. If you do need to change their Pay Type, Pay Rate, Title, Status, and/or other pertinent information, do so here.
- If Holiday waiting periods and eligibility need to start over with this pay history segment, check the Start of Holidays box.
- If Benefit waiting periods and tenure levels need to start over with this pay history segment, check the Start of Benefits box.
Typically with reactivating employees from furlough, the Start of Holidays and Benefits are NOT started over/reset.
- You can optionally add a note.
- Click the Add Entry button to add the new pay history entry and then click Save Row.
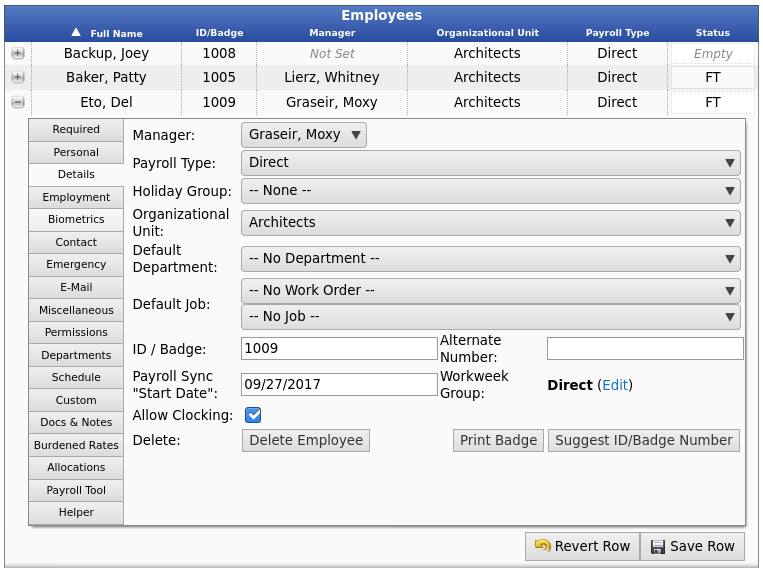
NOTE: If the employee's original ID/Badge number has been reassigned to a different employee, you must assign a new ID/Badge number to the rehired employee on the Required tab before leaving this screen.
TIP: Use the "Suggest ID/Badge Number" to generate an unassigned badge number.
Deleting an Employee Record
TimeIPS stores employee's time and payroll information historically. An employee's record can only be deleted if the employee has never clocked in or out and/or a payroll cycle has not passed.
- Click on the + sign next to the employee's name to expand the employee record.
- Click on the Details tab.
- Click on the Delete Employee button. The employee record will be deleted.
NOTE: The "Delete Employee" button will not appear if any time events are associated with the employee's record or if a payroll cycle has passed. Instead, it will show "Disabled".
 Information