316-264-1600 Information Sales Support Information Sales Support |
|
Applies to versions: 2.0, 2.1, 2.2, 2.3Benefit TypesBenefit Types provide a classification for non-worked time (such as sick and vacation) that can be allocated to employees. These types can be paid or unpaid, can optionally count toward overtime hours, and can be configured to automatically accrue if configured in the Accruals section. With the Advanced Benefits Tracking module (IPSBEN), custom benefit types can be created or edited.
Using the left pane Main Menu » Administration, click on: Benefits » Benefit Types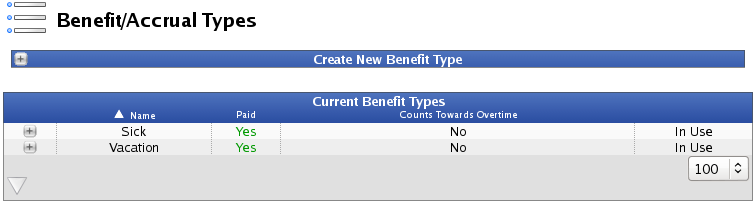
Create a New Benefit Type
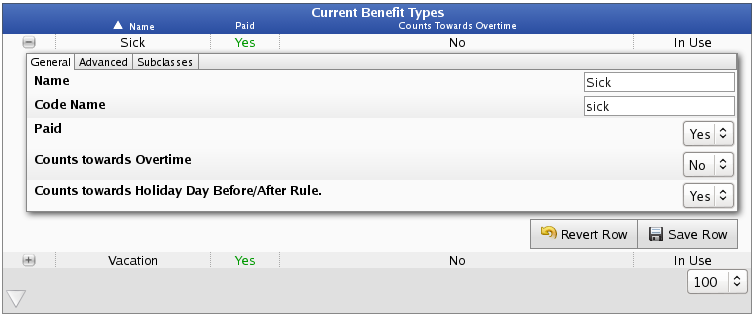
Edit a Benefit Type
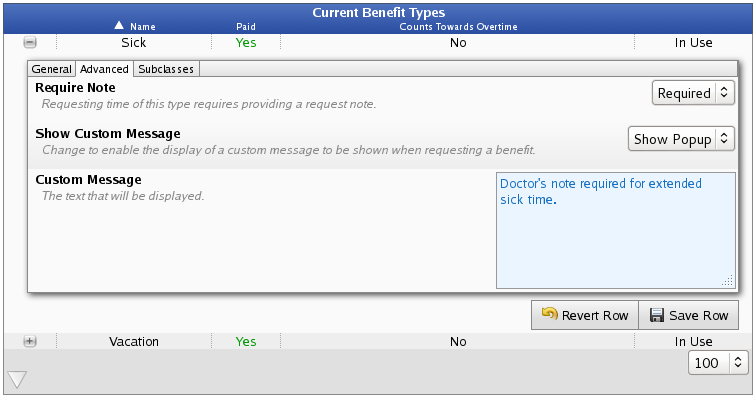
Advanced Options
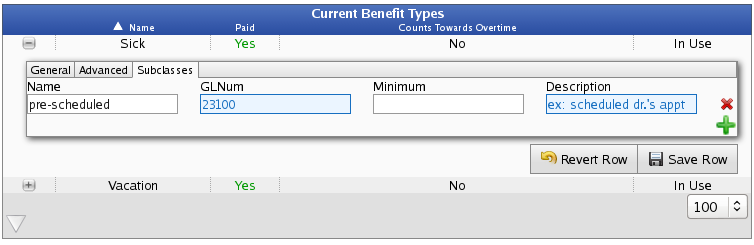
SubclassesSubclasses can be used to track projects, departments, areas or other designations related to the benefit, the employee, or why the benefit was used. 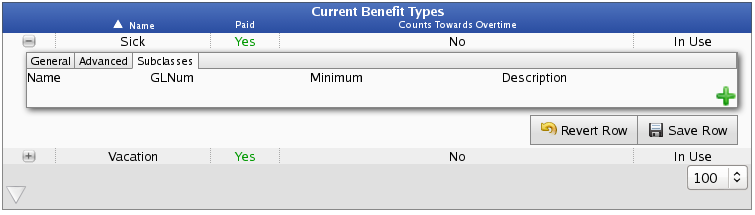
Add a Subclass
Deleting a Benefit TypeIn order to delete a benefit type, that type must not be in use. Once it has been used, it can not be deleted.
Was this article relevant to your question? Yes No |