Applies to versions: 2.2, 2.3, 2.4, 2.5, 3.0
Automatic Reports
Automatic reports provide a way to run Custom Reports and Sign Off Reports on an automated basis. Reports can run for custom time frames from hours to years and can send the report by email or upload to an FTP server.
Automatic Reports require the IPSEML email automation module.
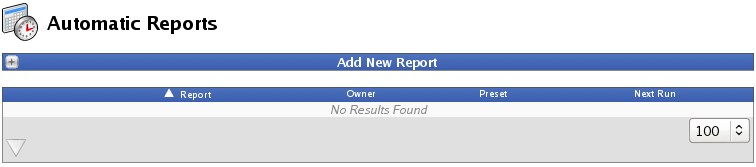
Using the left pane Main Menu » Administration, click on: Reports » Automatic Reports
Add a New Report
- Click the + (plus) sign to the left of the Add New Report bar.
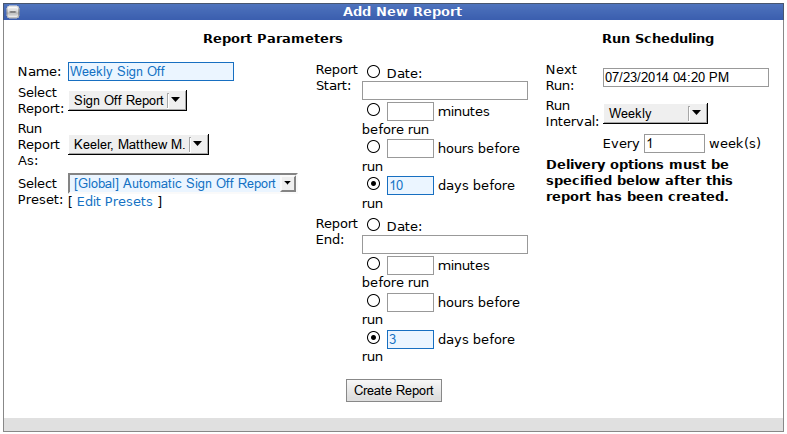
- Assign a descriptive Name to this report.
- Select either a Sign-off Report or a Custom Report.
- From the drop down menu, choose an employee to Run the Report As. This allows reports to be configured for managers or employees so the reports will run with visibility and permissions granted to that employee.
- Select a Preset from the drop down list.
NOTE: If a preset has already been created for either a Custom Report or Sign-off Report, you will find it in the Select Preset drop down list.
- To edit an existing preset or to create a new one, click the Edit Presets link.
- Choose a Report Start
- by Date:
- Click in the circle (aka radial button) to select Date.
- Click on the field below to display a calendar and then select the date. This field can also be edited in place so just click in the box and type over the displayed date and time.
- by a specified amount of time before the report is scheduled to run. Choose from Minutes, Hours, or Days before.
- Click in the circle (aka radial button) to select either Minutes before run, Hours before run, or Days before run.
- Then type the value of time in the corresponding field.
- Choose a Report End
- by Date:
- Click in the circle (aka radial button) to select Date.
- Click on the field below to display a calendar and then select the date. This field can also be edited in place so just click in the box and type over the displayed date and time.
- by a specified amount of time before the report is scheduled to run. Choose from Minutes, Hours, or Days before.
- Click in the circle (aka radial button) to select either Minutes before run, Hours before run, or Days before run.
- Then type the value of time in the corresponding field.
- Select when to do the Next Run. Either click in the field to display a calendar and then select the date, or just type over the displayed date and time.
- Select the frequency of this report from the Run Interval drop down list. Each selection will have additional options (displayed directly below) that will allow further time configuration.
- Click the Create Report button to save.
NOTE: Delivery options must be specified below after this report has been created.
Edit an Autmatic Report
- All of the Report Parameters and the Run Scheduling are editable.
- The Delivery Options must be specified here.
- Filename Template: Enter a template for the file name to be generated. Simple text can be entered, like report.csv, or more complex dynamic naming with date info, such as report%Y%m%d.csv. When using the date functions, the date/time that is used is the date/time that the report is set to run (not the time range that the report covers, or the time the report finishes generating).
- %Y for the year
- %m for the month
- %d for the day
- %H for the hour
- %M for the minute
- %S for the second
- %P for the AM/PM
- %s for the unix timestamp (seconds since 12am, Jan 1, 1970 in GMT)
- Additional options can be used, per PHP strftime function.
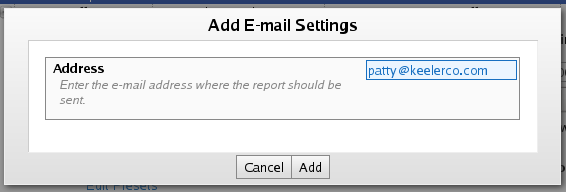
- Click the Add E-mail button.
- Enter the e-mail address where the report should be sent, then click the Add button to save.
- Click the Add FTP button.
- Add the IP address or domain name of the FTP server.
- Enter the Username needed to log into the FTP server.
- Enter the Password needed to log into the FTP server.
- Enter the Path (absolute or relative) that the file should be uploaded into on the FTP server. Leave blank to use the default path.
- Enter the timeout in seconds. Leave blank or enter -1 for no timeout. (This sets a time limit on how long the system will attempt to complete the task.)
- Click the Add button to save.


These settings continue to be editable and even deleted.
- Click on the Save Row button to save the changes.
 Information