|
|
Applies to versions: 3.1, 3.2, 3.3, 4.0
External Sync - File Import
If you are maintaining your Employees in a separate system, such as Master Builder, you can configure TimeIPS to automatically fetch that information so that it will be available for Employee Clocking. Here we'll use File Import to fetch the information.
Using the left pane Main Menu » Administration, click on: System » External Sync

Create New External Sync Rule
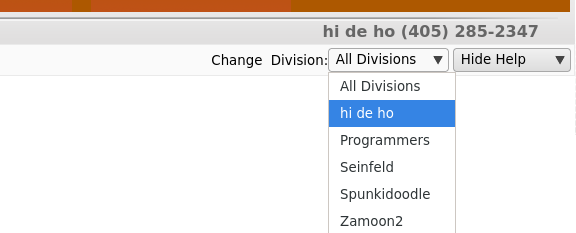
- Select a single division from the dropdown menu in the top right hand corner.

- Click the + (plus) sign next to "Add a New External Sync Rule".

- Add a descriptive Name.
- For the New Sync Rule Type, select File Import from the dropdown list.
- Click the Add New External Sync Rule button to save.
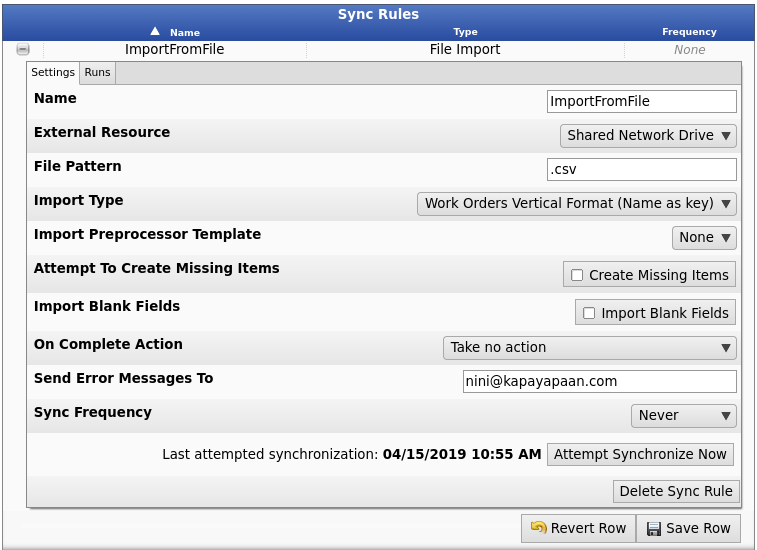
- Click the + (plus) sign next to the name of the New External Sync Rule.

- Select the External Resource you wish to use. (See the External Resource article for details on setup.)
- Enter the File Pattern (i.e. .csv) to use to match the desired file(s).
- Select the Import Type to process the file through.
- Optionally, select an Import Preprocessor Template to preprocess the import file. (See the Import Preprocessor Template article for details on setup.)
- Attempt To Create Missing Items: When processing an import, the items being created/updated might reference other items such as a Work Order import that references Jobs. When this option is selected, imports that reference missing items (such as Jobs) will create the item instead of triggering an error. Note that this option is not necessarily supported by all import modes.
- If you would like to erase fields, leave the field blank in the imported file and check the Import Blank Fields box here. Use with care.
Note that this option is not supported by all import modes.
- Select an Action that will automatically happen upon import completion.
- Enter the email address that will receive error messages and emails from the synchronization system.
- Select a Sync Frequency from the dropdown list.
- To initiate a manual sync, click the Attempt Synchronize Now button.
- Be sure to click the Save Row button when you are finished making changes.
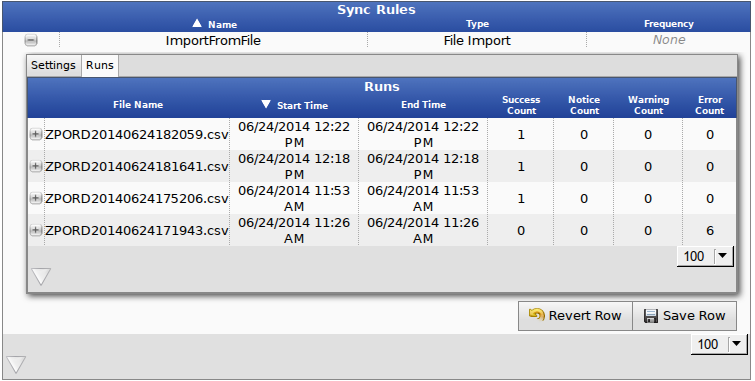
- Click on the Runs tab to view the sync history.

|

 Information
 Sales
Sales Support


