316-264-1600 Information Information Sales Sales Support Support |
|
Applies to versions: 1.3, 1.4, 1.5, 1.6Adjusting Time/Date SettingsTimeIPS synchronizes its time with a Network Time Protocol (NTP) Server or, if an Internet connection is not available, by its own hardware clock. NOTE: If your display is off by one hour but the web pages show the correct time, restart your TimeIPS station.
Security Level Required: System Administrator
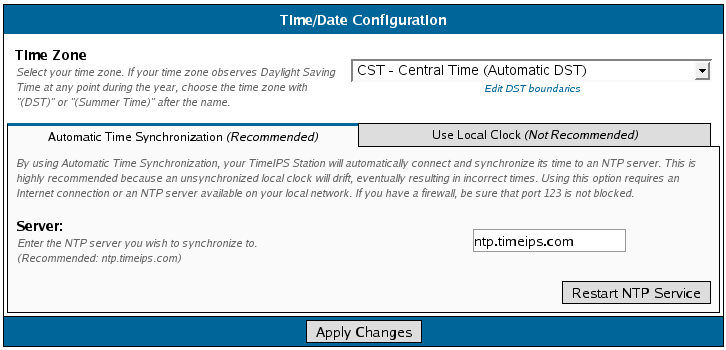
NOTE: Changing the time zone adjusts how time is displayed, but does not affect the actual time or time worked. WARNING: Changing your time by restarting the NTP or manually adjusting the time may affect past time events, as well as time worked for currently clocked in employees. Ensure that all employee's are clocked out before adjusting the time to maintain the integrity of employee's time worked. NOTE: Changing the time zone adjusts how time is displayed, but does not affect the actual time or time worked. If you have an active "always on" Internet connection:
NOTE: If you have unique Daylight Savings Time boundaries, see "Editing DST Boundaries" below.
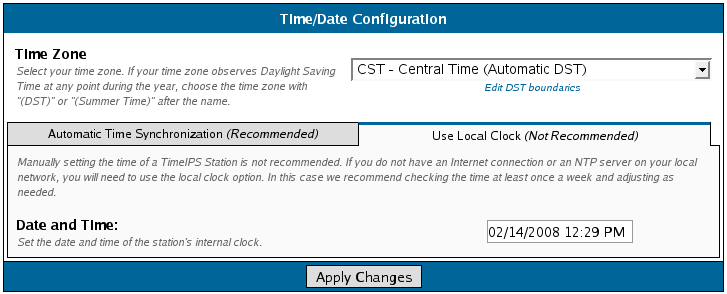
If you do NOT have an active "always on" Internet Connection OR you are setting the time and date for the first time:
NOTE: If you have unique Daylight Savings Time boundaries, see "Adjust Daylight Savings Time Boundaries" below.
NOTE: TimeIPS stores time on a battery clock when it is without power. The battery clock's time is reset to the TimeIPS system time during reboot. Therefore, Restart Server after adjusting the Time Settings.
HINT: If you have multiple time stations, you can set the Client's NTP Server to the Master's IP address.
NOTE: If the time is set correctly in System Settings but the small LCD display is an hour (or more) off, check the Client's Time Zone. Use the "See Also" link below.
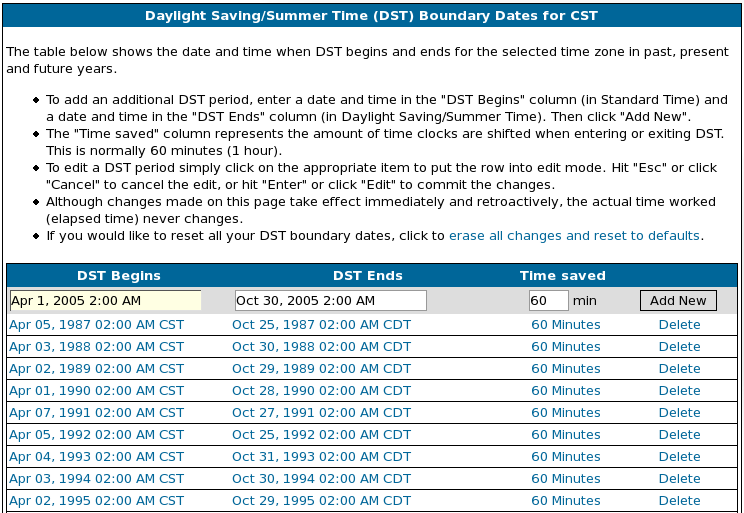
To view, edit, or adjust your time zone's Daylight Savings Time start and end dates and times, click on the "Edit DST boundaries for this timezone" link under the Time Zone pull-down.
|


 Adjust Daylight Savings Time Boundaries