316-264-1600 Information Information Sales Sales Support Support |
|
Applies to versions: 1.3, 1.4, 1.5, 1.6, 1.8, 1.9, 1.10, 1.11, 2.0, 2.1, 2.2, 2.3QuickBooks Integration - Run PayrollYou have now setup QuickBooks and TimeIPS and are ready to run the integration. Switch to multi-user mode in QuickBooks.
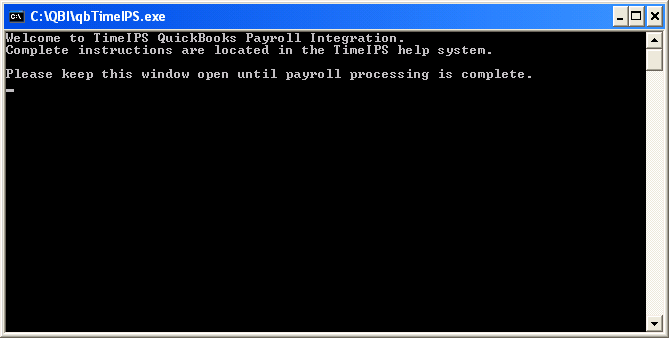
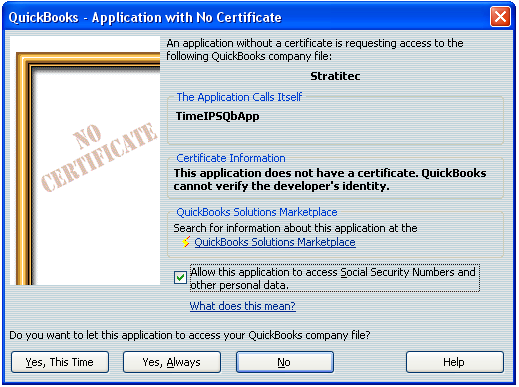
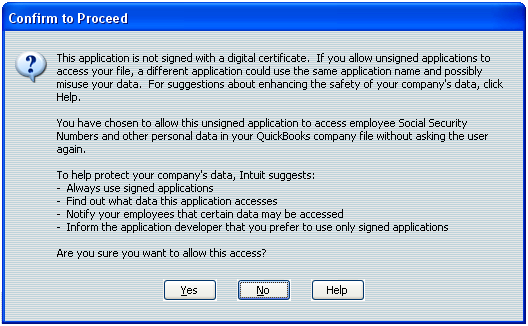
Run the qbTimeIPS.exe file.
Run payroll in TimeIPS.
Once the integration is complete, you can successfully close down the qbTimeIPS.exe program by clicking on the close icon (X) in the upper right hand corner. WARNING: Once the TimeIPS data (hours worked) is successfully integrated with QuickBooks, the payroll data will be marked as "Payrolled" in TimeIPS and can not be integrated again.
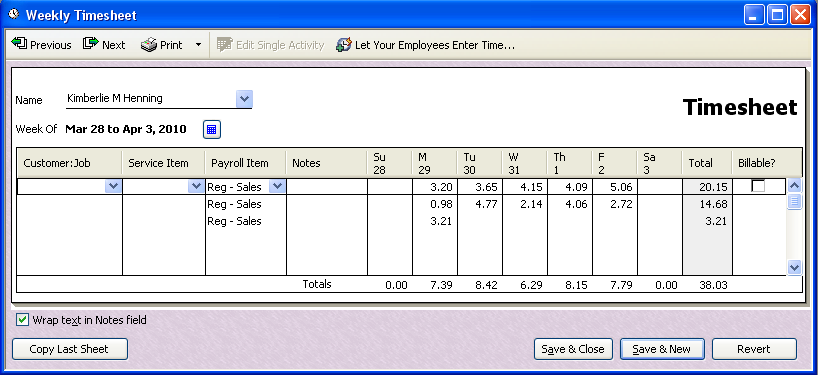
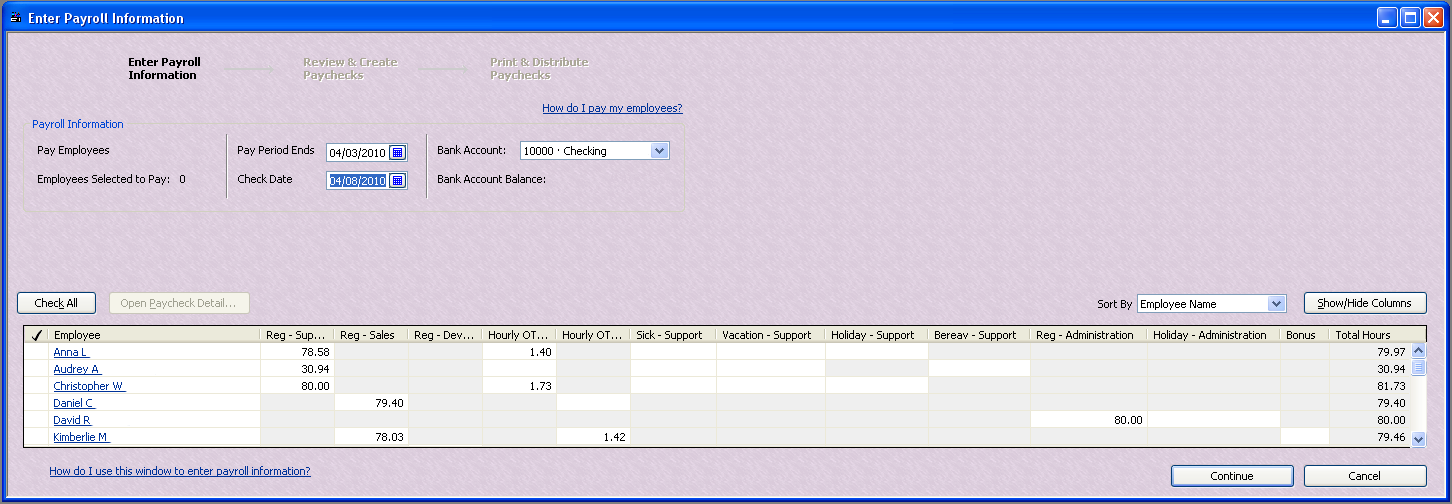
Verify hours in QuickBooks by going to Employees -> Enter Time -> Use Weekly Timesheet. Hours should appear for the employees on the dates exported, with each segment of time an employee worked showing on the day of work. Customer: Job, Service Item and Payroll Item and Note will all appear, if configured in the QuickBooks export. See example below: When you're ready to run payroll in QuickBooks, hours will appear in Employees -> Pay Employees. Hours for each pay type will appear in a column for each employee. Final adjustments to hours or pay types can be made on individual paychecks, if necessary. See example below: Now that you have setup QuickBooks and TimeIPS and have successfully integrated your Payroll data, you can simply Run Payroll next payroll period. See Also: QuickBooks Integration - Setup QuickBooks (1.3, 1.4, 1.5, 1.6) QuickBooks Integration - Setup TimeIPS (1.3, 1.4) |
