|
|
Applies to versions: 1.6
Editing Time In/Out, Inserting/Deleting a Single Time In or Out and Adding Notes to a Time Event
If an employee forgets to clock in or out, you can insert a single time event through the TimeIPS Time Edit/Report.
Security Level Required: Manager, Employee Administrator or Payroll Administrator
Using the left pane Main Menu, click on: Administration » Payroll and Reports » Time Edit/Report
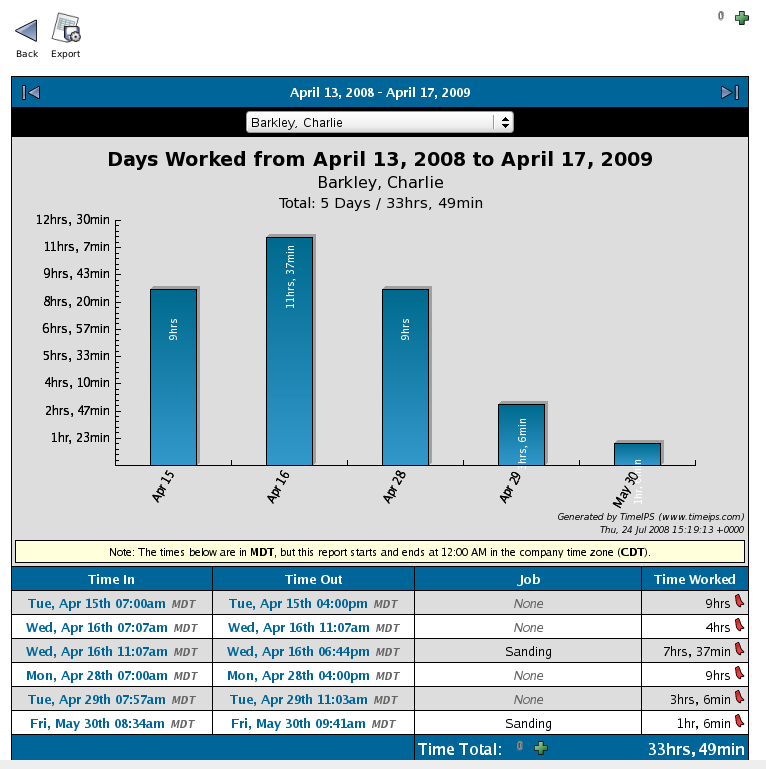
- Run the Time Report for the employee whose time you need to adjust.
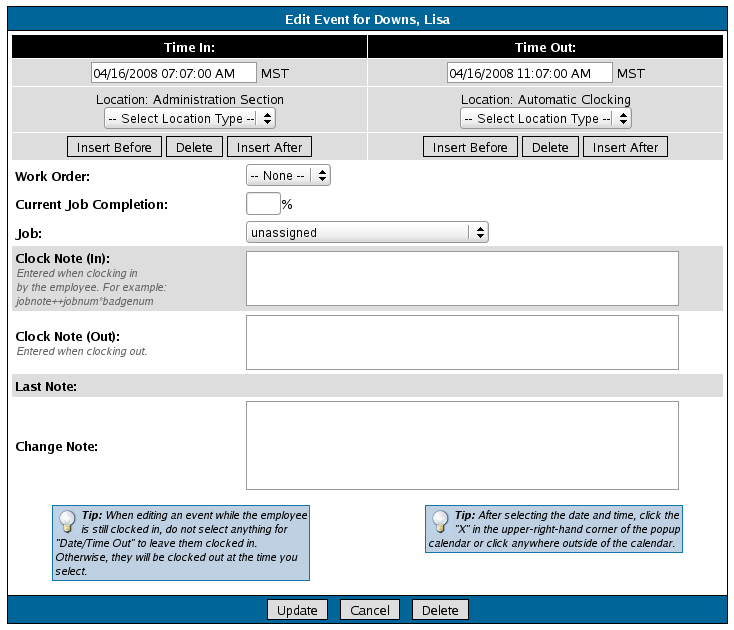
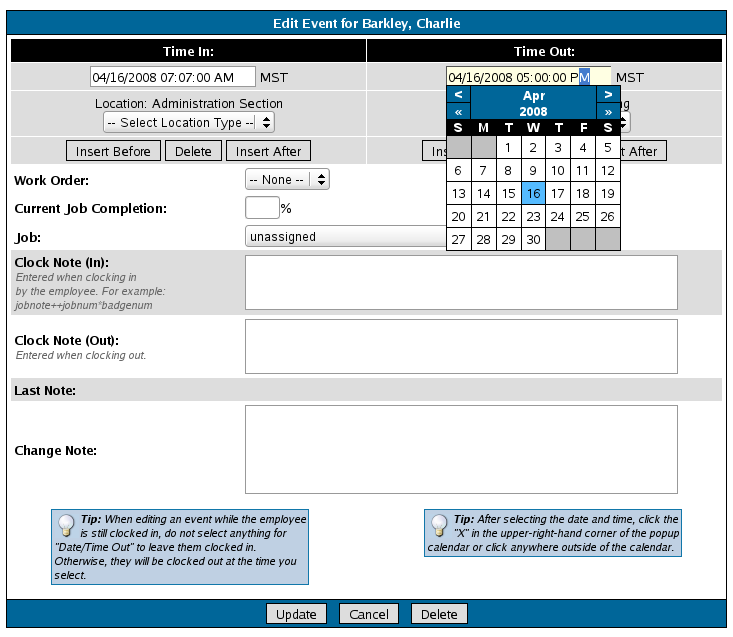
- Click on the Time In or Time Out link that is in error.
- Click on the appropriate Insert Before button to insert a time before the Time In or Time Out, the Delete button to delete the single Time In or Out, or the Insert After button to insert a single time event after the Time In or Out.
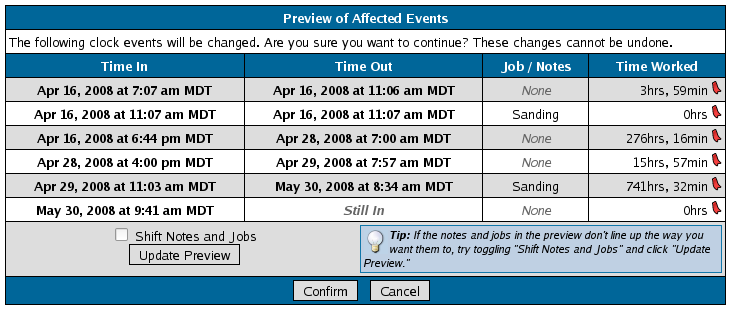
- Review the affected time events for accuracy.
NOTE: Jobs and Clock Notes are attached to a Time In and Out pair, not a single time event. Therefore, when you insert or delete a single time event, the Job and Clock Notes shift to a new Time In/Out pairing. If the Job and Clock Notes do not shift as expected, check the Shift Notes and Jobs checkbox then click on the Update Preview button. TimeIPS will shift the Jobs and Notes to the next probable Time In/Out pair.
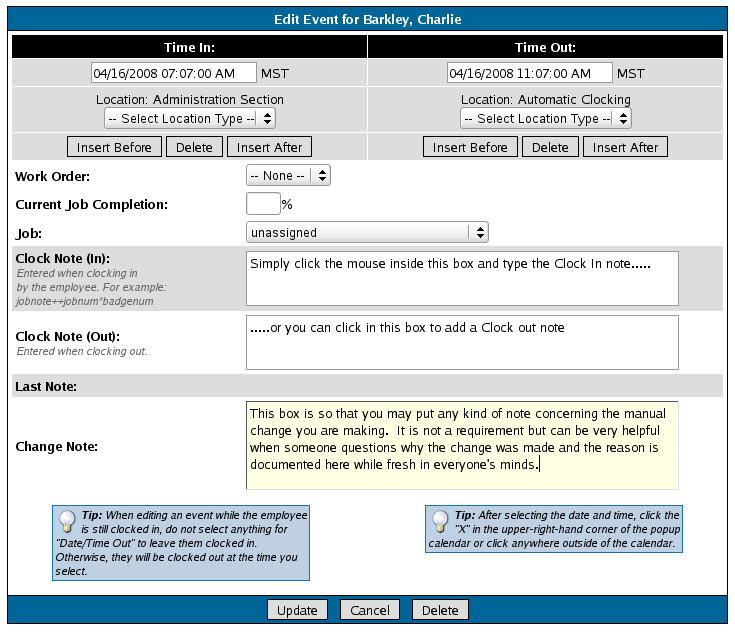
- If desired and/or appropriate, add notes to the Clock Note (IN): field, the Clock Note (OUT): field and/or the Change Note: fields.
- Click on the Update button to accept the affected events and save the adjustment.
- To insert a time before or after an existing clock time works much the same as a typical time edit. However, you must first click the Insert Before or Insert After button located underneath the existing clocking time you want to affect. Clicking one of those buttons will bring up the following screen:
- Simply enter the new time that you want to insert and then click the Insert button.
- This will bring you to the Preview of Affected Events screen. Make sure that you have put the time insert exactly where you need it to be and that it appears correctly. When all of the edits are to your liking, click on the Confirm button and the edits you have just made will be committed to the TimeIPS system.
See Also:
Time Edit Reports (1.6)
Running A Time Report (1.6)
|

 Information
 Sales
Sales Support