|
|
Applies to versions: 1.8, 1.9, 1.10
Remote Clocking Interface
Remote Clocking allows employees to clock in from a computer or other web browsing device such as a smart phone.
Remote Clocking
Permissions: Clocking -> Clock Events: Create New
Default Permission Group: Employee
To use remote clocking, employees must be individually activated with a checkbox on the Remote Clocking page.
The appearance of the Remote Clocking page varies, based on the configuration set on the Remote Clocking Setup page.
Browse to the TimeIPS IP address followed by /remote/ or a colon and the number 81.
EXAMPLE: If the TimeIPS Master station's IP address is 192.168.1.225, employees will browse to http://192.168.1.225/remote/ or http://192.168.1.225:81 to remotely clock in and out.
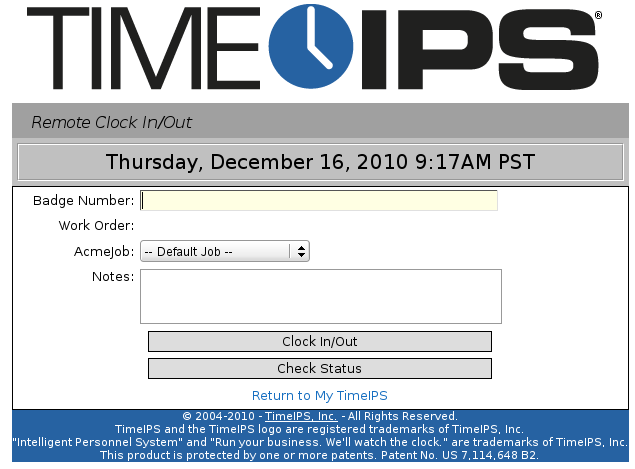
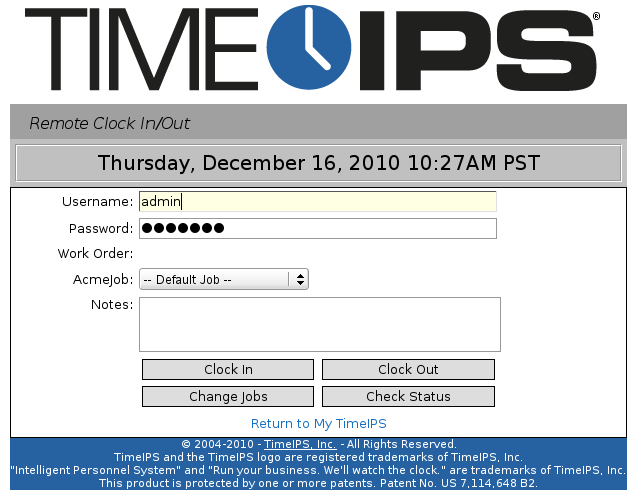
- Enter a badge number. If you'd rather use a login name and password, select that option in the configuration.
- If necessary, select the Job Code you will be working on from the pull-down and enter any Notes.
NOTE:  IPSIPS IPSIPS is required for Job Tracking. TIP: Notes are stored with the Time In/Out pair. Clock Out notes will not overwrite any notes entered during a Clock In. NOTE: The Job field name can be renamed in the configuration. In this example, it's set to "AcmeJob."
- Click on the Clock In, Clock Out, or Change Jobs as applicable, or click on the Check Status button to view your current clock in/out status.
- If "Use One-Button Interface" was selected in the Remote Clock Setup options, click on the Clock In/Out button to clock in or out, or click on the Check Status button to view your current clock in/out status.
See Also:
Remote Clocking (1.8, 1.9, 1.10, 1.11)
|

 Information
 Sales
Sales Support

