316-264-1600 Information Information Sales Sales Support Support |
|
Applies to versions: 1.11, 2.0, 2.1, 2.2Remote Clocking InterfaceRemote Clocking allows employees to clock in from a computer or other web browsing device such as a smart phone. To use remote clocking, employees must be individually activated with a checkbox on the Remote Clocking page.
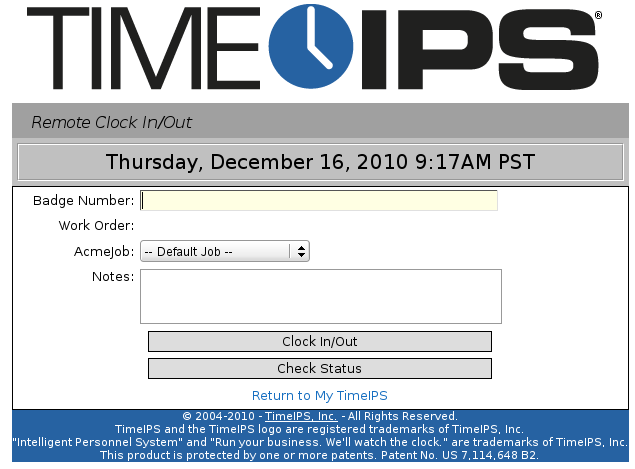
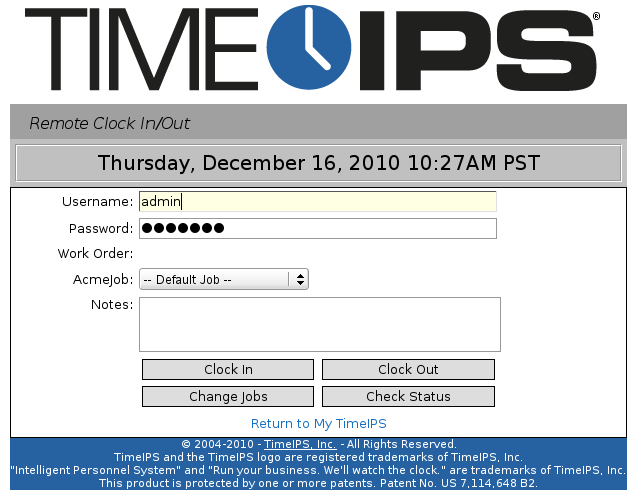
Using the left pane Main Menu, click on: Remote Clocking under My TimeIPS.-or- Browse to the TimeIPS IP address followed by /remote/ or a colon and the number 81.EXAMPLE: If the TimeIPS Master station's IP address is 192.168.1.225, employees will browse to http://192.168.1.225/remote/ or http://192.168.1.225:81 to remotely clock in and out.
The appearance of the Remote Clocking page varies, based on the configuration set on the Remote Clocking Setup page.
NOTE: For instructions on how to clock in/out using customized fields see the article on Customizing Remote Clocking.
See Also: Remote Clocking (2.0, 2.1) |


