316-264-1600 Information Sales Support Information Sales Support |
|
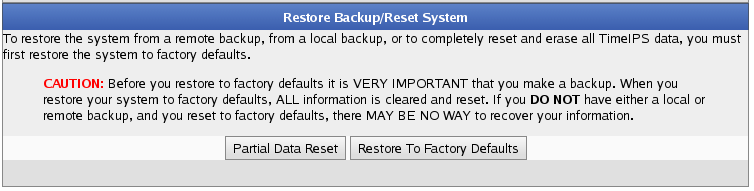
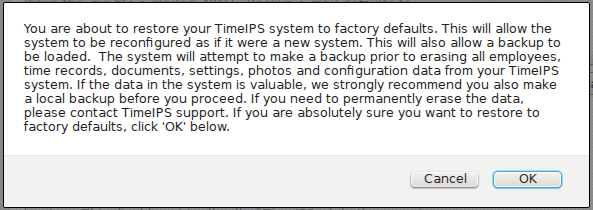
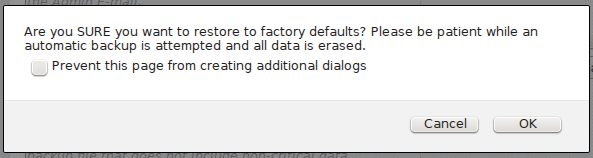
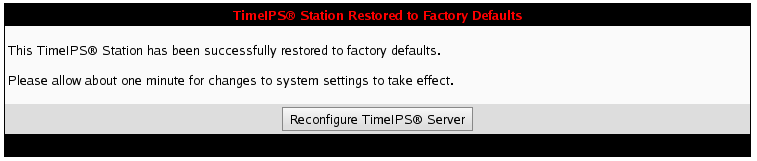
Applies to versions: 2.2, 2.3, 2.4, 2.5, 3.0, 3.1Restore To Factory DefaultsRestore to Factory Defauts allows the system to be reconfigured as if it were a new system. This will also allow a backup to be loaded. The system will attempt to make a backup prior to erasing all data from your TimeIPS system. If the data in the system is valuable, we strongley recommend you also make a local backup before you proceed. After performing a reset, the system can be configured as new, or a backup can be loaded. If you need to permanently erase all data, please contact TimeIPS techincal support.
|