|
|
Applies to versions: 3.0, 3.1, 3.2, 3.3
Timesheet Approvals
There are three areas where timesheets are approved.
- For Employees, Timesheet approvals are carried out in My Timesheets.
- For Managers, Timesheet approvals are primarily carried out in Payroll > Timesheet Approvals. However, time can also be approved on the Time Edit/Report
Employee Timesheet Approvals
Using the left pane Main Menu » click on My Timesheet
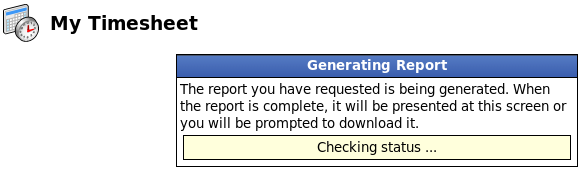
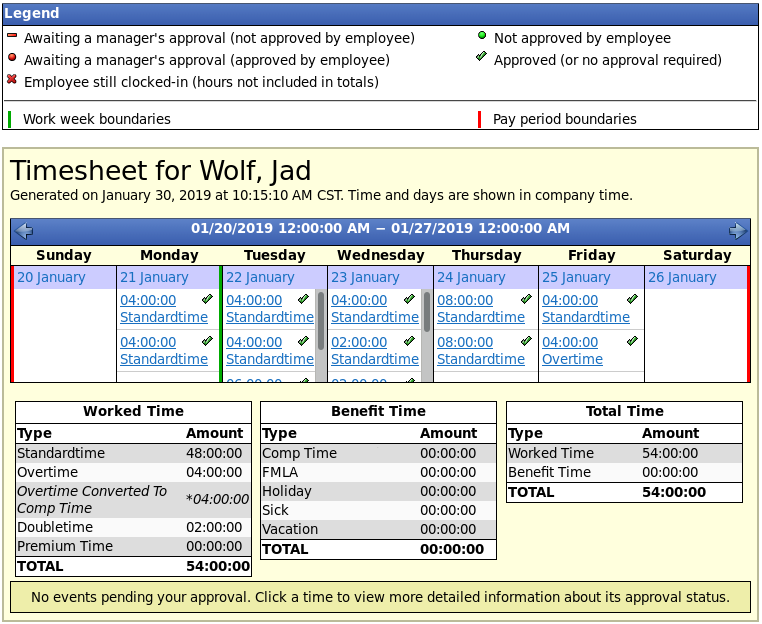
The My Timesheet allows you to view your current pay period for discrepancies.
If there are no discrepancies, click the Confirm button to submit your approval.
The Legend shows that the green checkmark means it is "Approved" or that no approval is required. Click this (or any) icon next to the time for more detailed information.
Timesheet Approvals for Managers
Using the left pane Main Menu » under Administration, click on Payroll » Timesheet Approvals
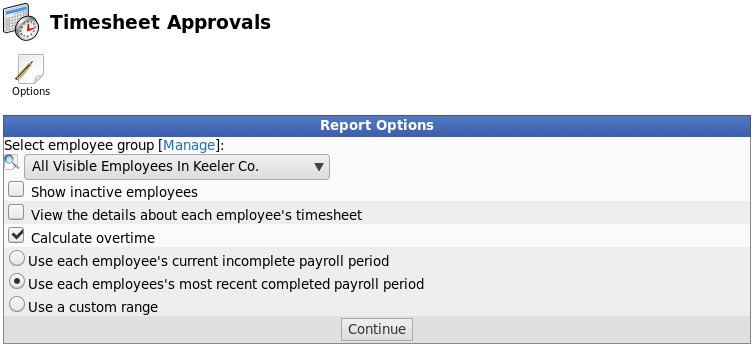
This will bring up the Report Options window where managers can configure the report using the following criteria.
- All Visible Employees: Will allow the manager to either select all of the employees in the company, groups of employees, or individual employees to be reviewed.
- Show inactive employees will include in the report all of the terminated or inactive employee(s) in the Timesheet Approval report.
- To View the details about each employee's timesheet, check the box next to this option.
- By default, the report will Calculate overtime unless you uncheck the box.
- Use each employee's current incomplete payroll period. You will use this option if you need to view an employee(s) time sheet for the current pay period.
- Use each employees most recent payroll period is the default option that most managers will use. This will bring up all of the punches the employee has made in a previous pay period such as the last two weeks.
- Choosing to Use a custom range will provide the option to specify a starting and ending date range which will limit the events displayed.
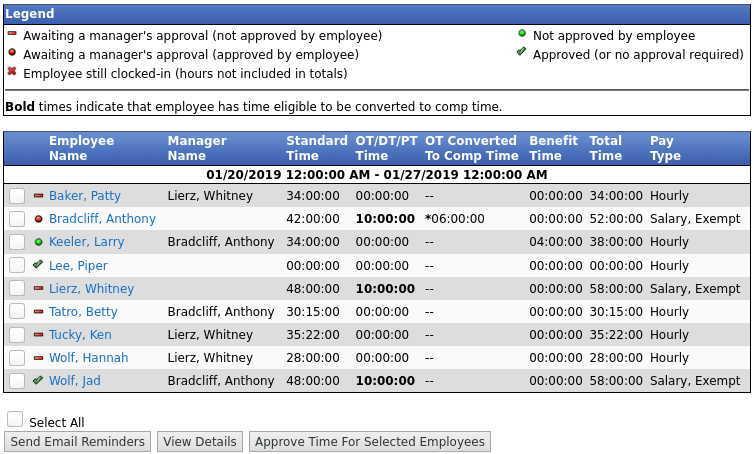
Click on the Continue button to view the report.
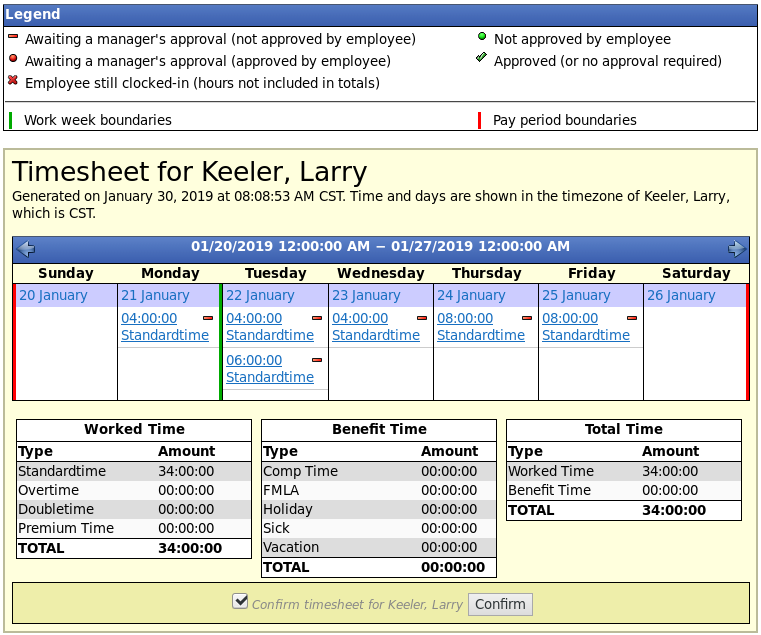
For a more detailed view, check the box next to the employee's name and click the View Details button.
After reviewing the employees timesheet for discrepancies and none are found, place a check mark in the box next to Confirm timesheet for 'employee name', then click the Confirm button.
If an employee has overtime, is eligible to convert overtime to comp time and the IPSCOMP module is installed, options to Convert all overtime to comp time, Keep all overtime, and Partially convert overtime will display.
See the Compensatory Time article for more information including instructions on how to add the IPSCOMP module.
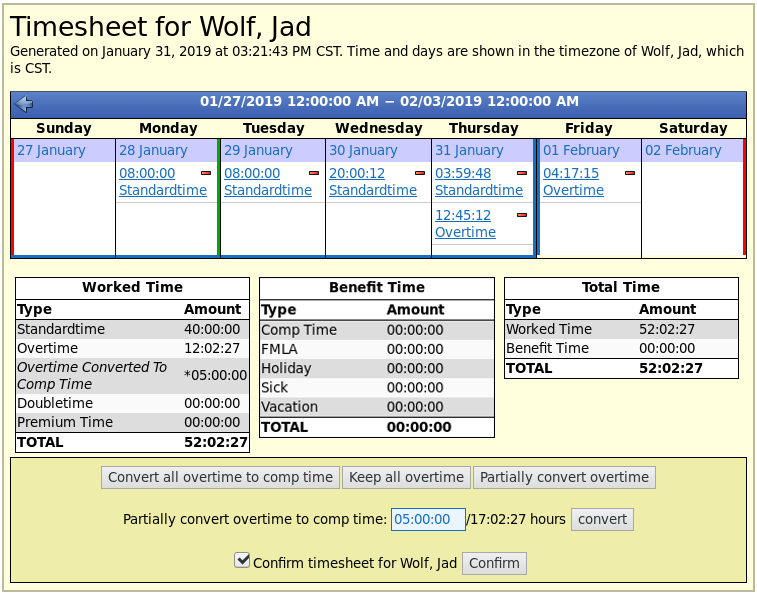
- Here, Partially convert overtime was selected.
- Enter the amount of time to be converted to comp time and click the convert button.
Note: The conversion rate from OT to Comp Time is 1:1.5. For example, 4 hours of OT converts to 6 hours of Comp Time. This is evident in the Benefits Log.
- You will then have the option to confirm the timesheet. To confirm, check the box then click the Confirm button.
- You can also view and/or approve multiple employees at once by placing checkmarks in front of each of their names.
- To view a more detailed list of everyone's time at once, check the Select All box and click on the View Details button.
- To approve everyone at once, check the Select All box and click on the Approve Time For Selected Employees button.
NOTE: Clicking the "Approve Time For Selected Employees" button approves time without first viewing the details.
Time Approvals via the Time Edit/Report
Using the left pane Main Menu » under Administration, click on Reports » Time Edit/Reports
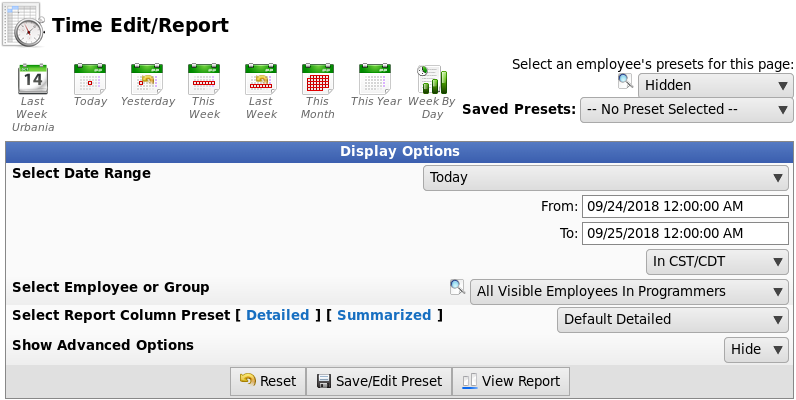
This will bring up the Display Options window where managers can configure the report.
- To display the Timesheet Approval for Event option, click on the [ Detailed ] Column Preset link.

- Find and select the Timesheet Approval for Event option in the Available Columns list then click the arrow pointing to the right to move it to the Displayed Columns list.
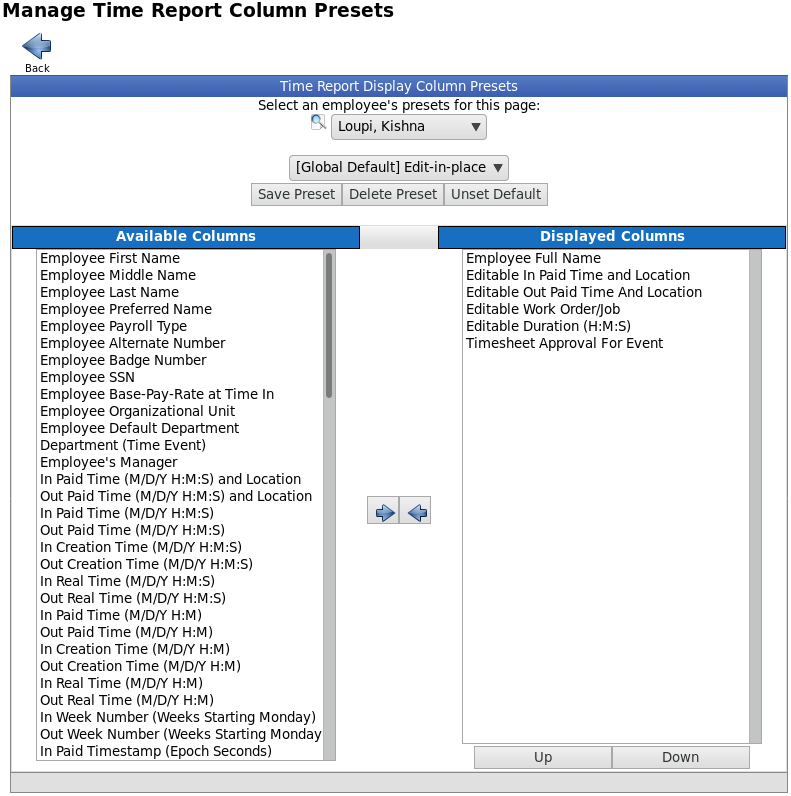
- Once it's in the Displayed Columns list, click the Save Preset button
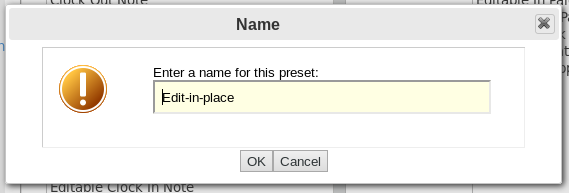
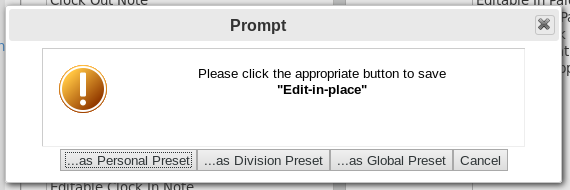
- You will be prompted to first name (or confirm the name if updating an existing preset) and then choose whether it's a Personal, Division, or Global Preset.
- Click the <-- Back arrow icon to return to the Time Edit/Report.
- Then View Report using the preset just created or updated.
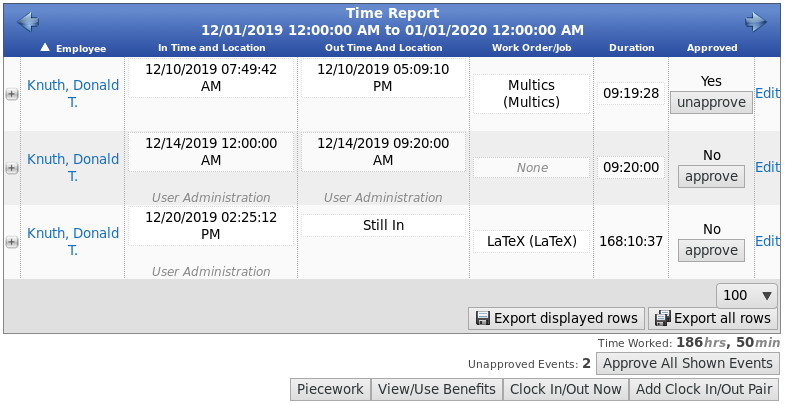
- The Approved column allows you to either approve or unapprove individual time events, or click the Approve All Shown Events button to approve all the visible time events at once.
|

 Information