Date printed: 04-26-2024   Last updated: 03-20-2007

To view our complete support knowledge base and most current version of this article visit support.timeips.com.
316-264-1600
Information
Sales
Support

Applies to versions: 1.4, 1.5, 1.6


Remote Clocking


Allows one, or more with the Remote Clocking module or TimeIPS Online Time Clock, to clock in and out using a computer terminal.

To Grant Remote Clock Access


Security Level Required: Employee Administrator or Payroll Administrator

Using the left pane Main Menu, click on: Administration » Clocking » Remote Clocking


The Remote Employee Clocking Page

  1. Check or uncheck the Grant checkbox corresponding to each employee.
    NOTE: Only employees with a defined username and password, Employee (Login Access), will display.

    NOTE: Remote clocking licenses are purchased in sets of 10. View the Employees Selected counter at the bottom right to identify the number of employees granted remote clocking access and the maximum number of employees available for remote clocking access.

    TIP: The Remote Employee Clocking page is a convenient view of all employees' usernames.
  2. Click on the Save Changes button to save the changes or the Back icon to leave without applying the adjustments.


NOTE: 
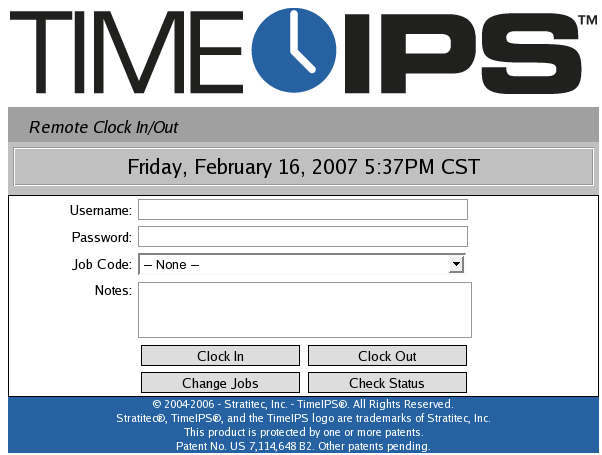
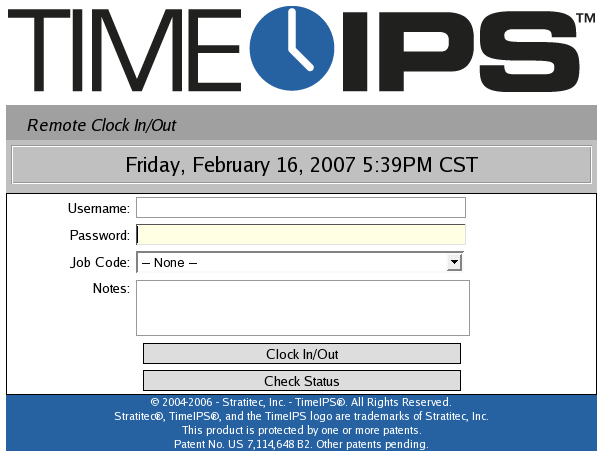
TimeIPS version 1.4.2 introduces the ability to create and customize remote clocking fields. See the article on Customizing Remote Clocking for instructions.


To Remotely Clock In/Out:


Security Level Required: Employee (Login Access)
Browse to the TimeIPS IP address followed by /remote/ or a colon and the number 81.

EXAMPLE: If the TimeIPS Master station's IP address is 192.168.1.225, employees will browse to http://192.168.1.225/remote/ or http://192.168.1.225:81 to remotely clock in and out.


The Remote Clock In/Out Screen with Default Buttons

  1. Enter Username and Password.
  2. If necessary, select the Job Code you will be working on from the pull-down and enter any Notes.
    NOTE: IPSIPS is required for Job Tracking.

    TIP: Notes are stored with the Time In/Out pair. Clock Out notes will not overwrite any notes entered during a Clock In.
  3. Click on the Clock In, Clock Out, or Change Jobs as applicable, or click on the Check Status button to view your current clock in/out status.
  4. If "Use One-Button Interface" was selected in the Remote Clock Setup options, click on the Clock In/Out button to clock in or out, or click on the Check Status button to view your current clock in/out status.


  5. The Remote Clock In/Out Screen Using One-Button Interface
    NOTE: For instructions on how to clock in/out using customized fields (introduced in TimeIPS version 1.4.2), see the article on Customizing Remote Clocking.


See Also:
Assign an Employee a Username/Password (1.3, 1.4)
Clock In/Out from a TimeIPS Time Station (1.3, 1.4, 1.5)
View Currently Clocked In Employees (1.3, 1.4, 1.5)

©2004-2023 TimeIPS, Inc. All Rights Reserved - TimeIPS and the TimeIPS logo are registered trademarks of TimeIPS, Inc.
"Intelligent Personnel System" "Run your Business. We'll watch the clock." are trademarks of TimeIPS, Inc.
TimeIPS is protected by one or more patents. Patent No. US 7,114.684 B2.